Migrate ECS Fargate from x86 to ARM (Graviton)
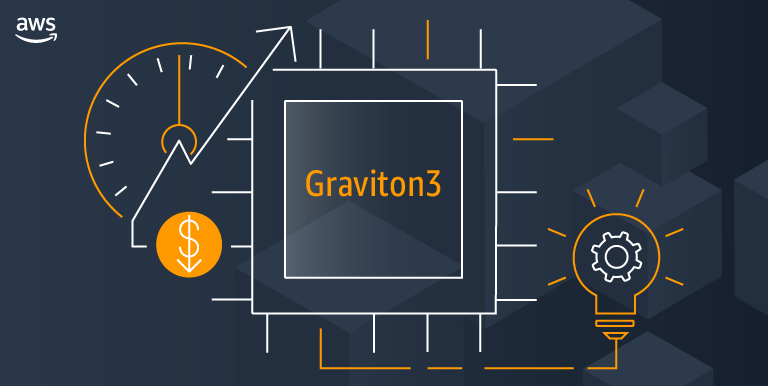
What is Graviton? AWS Graviton is a custom-designed processor by Amazon Web Services (AWS) specifically optimized for their cloud infrastructure. Graviton processors are based on ARM architecture rather than the more traditional x86 architecture used by Intel and AMD processors. ARM processors are known for their energy efficiency and are commonly found in mobile devices … Read more